Welcome to this informative piece: “Understanding the Initial Smell from your Heater: An Expert’s Insight”. This educational content is tailored to provide you with an understanding of why your heater might emit a certain smell initially when it’s turned on, especially after a long time of inactivity. Written with reference to expert opinion and established facts, we delve into the science behind these smells, disambiguating any fears you may have about your heater’s health. Reading this post will empower you with helpful insights, enabling you to identify when the smell from your heater is normal or when it may indicate a problem that needs professional attention. The aim is to help you ensure your unit’s proper functioning and longevity while ensuring your safety at home. So, let’s dive in for this easy-to-understand, suitable for all experience levels read.
Many homeowners have observed a peculiar smell when turning on their heaters for the first time in the cold season. This can evoke concern, as unexpected odors often raise questions about functionality or even safety. The good news is, there’s usually no need for panic. The smell is typically due to a combination of dust accumulation and the heating elements within the system.So, let’s delve deeper into the causes behind the initial smell from your heater.
Firstly, through summertime and the parts of the year when heaters are not in use, they can accumulate dust and other small particles. When you power up your heater for the first time, this dust gets heated and emits a distinct smell. It is similar to the smell you would notice when turning on your oven after a long hiatus, while it burns off any residual food particles or grease. In most cases, this smell will dissipate as the dust burns off, usually within an hour or so.
Factors influencing the initial heater smell:
Dust accumulation: Static electricity produced by the heater during low usage periods can attract dust particles.
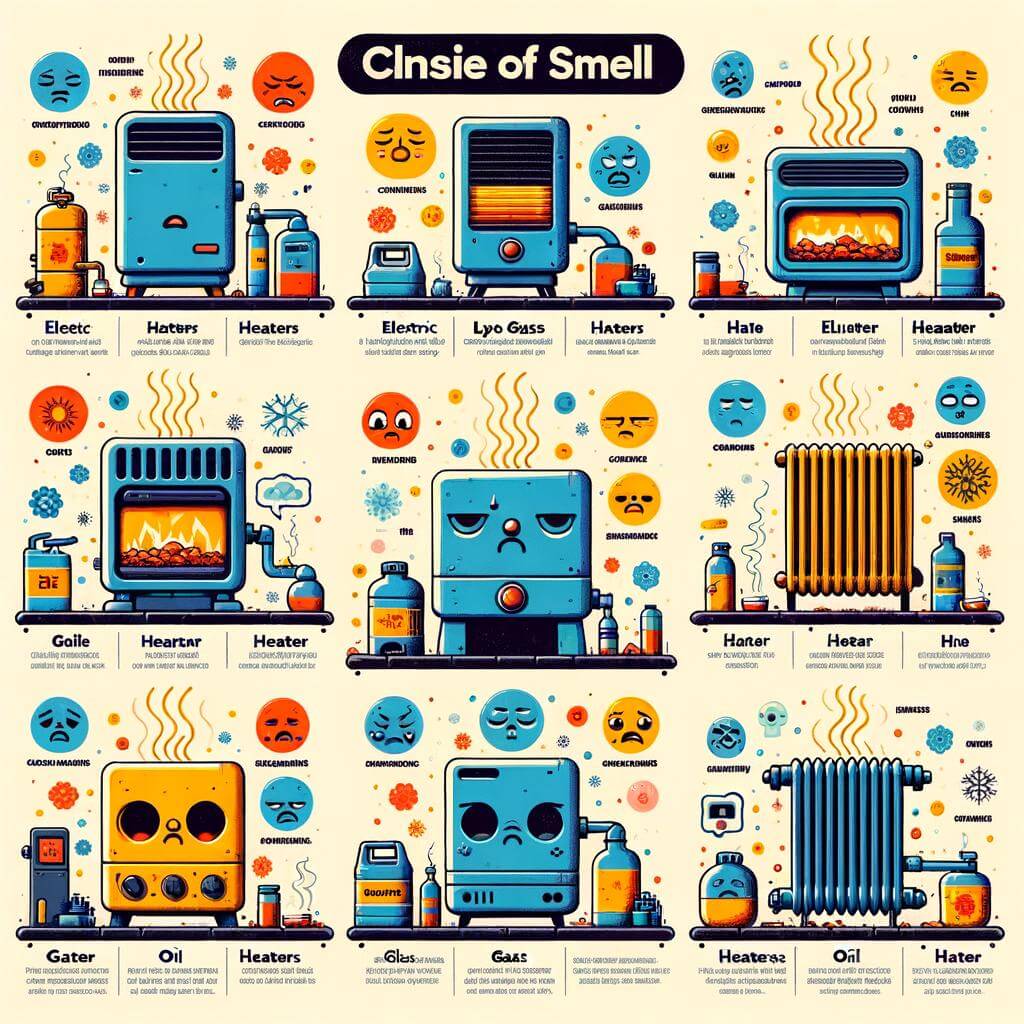
Heating elements: Each heating system (gas, electric, oil, etc.) has a unique way of producing heat, which can result in a distinct initial smell.
Time of non-use: The longer the period of heater dormancy, the greater the dust accumulation and thus the stronger the smell is likely to be.
Heater Type
Typical Burning Smell
Gas Heater
Slightly sulphurous
Electric Heater
Somewhat metallic
Oil Heater
Akin to engine exhaust
Remember, a continuous or worsening smell could indicate a more serious problem, like a malfunctioning part or a carbon monoxide leak. In these cases, it is advisable to consult with a heating system professional.
Knowing the Different Types of Heater Smells and Their Meanings
When the cold sets in, a functioning heater is nothing short of a salvage. However, an odd smell from it can raise concerns. Here is what some of these scents could mean:
Burning Dust: After long periods of inactivity, dust might accumulate on the heating elements. When the heater is turned on, this dust burns off, producing a distinct burnt smell. Typically, it should disappear within a few hours. However, if the smell persists, then a more serious issue, like an electrical malfunction, might be at play, warranting immediate attention from a professional.
Metallic Smell: A metallic odor could suggest overheating. It usually means parts of the heater like the heat exchanger or blower motor have gotten too hot. Remember, over time, overheating can cause significant damage to your system. Thus, it is essential to call for a check-up as soon as possible.
The table below provides a summary:
Heater Smell
Possible Cause
Action Required
Burning Dust
Dust accumulation on heating elements
If the smell persists, seek professional help
Metallic Smell
Overheating of system parts
Request a check-up immediately
Conclusively, your heater’s smell should never be ignored. It might be a simple issue of burning dust or something much more serious like an electrical malfunction or severe overheating. Hence, always ensure you get your heater checked regularly by a professional for maintenance and safety.
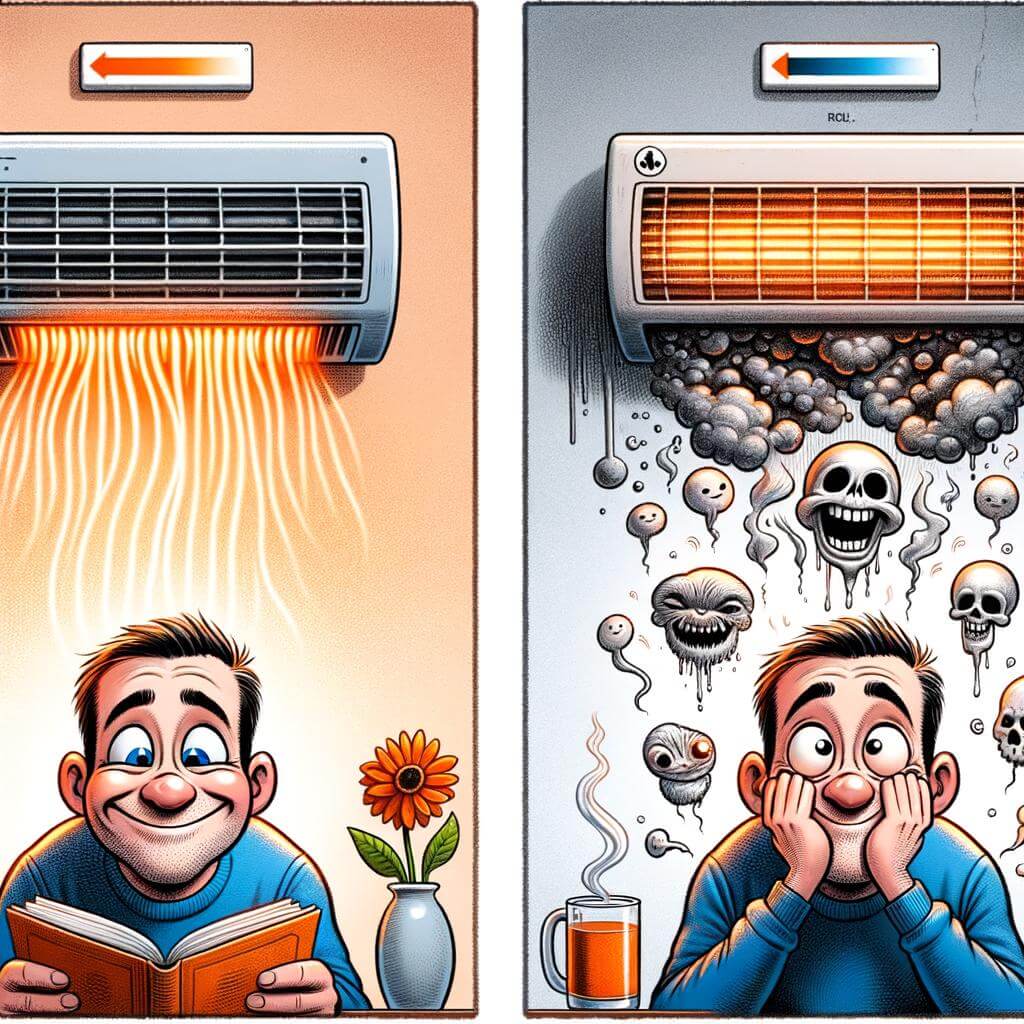
Comparing Smells: Normal versus Potentially Dangerous Heater Odors
At one point or another, we’ve all questioned the faint smell that our heating systems produce when fired up, especially after months of disuse. However, it’s important to understand that not all odors imply an impending problem. Normally, when you first start your heater after a long hiatus, you might catch a whiff of dust burning. This is mainly the dust and tiny particles that have settled on the heat exchanger, burning off as the heater warms up. You might also sense a metallic kind of smell, a typical feature of the hot metal parts inside your heating unit. These smells should dissipate after a few minutes and shouldn’t be a cause for alarm.
Smell
Description
Severity
Dusty burning
Typically happens when heating unit is first started after months of disuse
Normal
Metallic
Common smell of hot metal parts inside the heating unit
Normal
On the flip side, there are odors that should prompt you to take immediate action. If you notice a strong, persistent burning smell, it could indicate a serious issue, such as an overheating motor or a wiring issue. An odor akin to hot plastic or rubber could signal that a part of your heating system is melting. The smell of rotten eggs or sulfur can be a critical sign of a natural gas leak. Similarly, an oily smell might be due to an oil leak. These are all situations where you should turn off your heater immediately and arrange for a professional inspection.
Being able to differentiate between normal and potentially dangerous odors can contribute significantly towards ensuring the safety and efficiency of your heating system.
Tips on What to Do When You Notice Unusual Heater Smells
Turning on your heater after a long dormant period often brings with it certain smells. Most are innocuous, but some may signal problems. Here are some tips and insights. Sulphurous or rotten egg smell could mean an unlit pilot light or a gas leak. If it’s the latter, evacuate and call your gas company immediately. A quick whiff of a burning smell is normal upon first use as dust burns off, but continued scent might indicate an overloaded circuit or wiring issue.
If you notice a chemical smell, it may mean the heater’s heat exchanger has cracked, leaking carbon monoxide – call a professional immediately. Mildew or musty smells could be due to mould in your system, requiring a cleaning. The smell of oil signifies an oil leak, possibly needing a professional repair. Here’s a summary of the possible causes and associated actions:
Don’t ignore unusual heater smells. Acknowledging these warning signs can help you maintain your heating system, ensuring its longevity and your safety.
Seeking Professional Help: When and Why You Might Need an HVAC Expert
It’s a common experience for homeowners – you turn on your heater for the first time when the colder months set in, and suddenly there’s a peculiar smell permeating throughout your house. This smell can sometimes be no cause for concern, however, there are certain instances when contacting a HVAC professional for assistance might be necessary. Understanding the key signs and causes of these smells can help you make that decision.
One instance where you might need the help of an HVAC expert is when the initial smell from your heater does not dissipate after a few hours. This could indicate a variety of issues, including a dirty filter, dust accumulation in your heating system, or potentially more serious problems that require professional attention. In addition, if you notice a sharp, pungent or burning smell, this could be indicative of mechanical problems with your heating system like overheating, which certainly warrants a call to an HVAC professional.
Ignoring these smells can lead to bigger problems down the line, affecting not only the efficiency and longevity of your HVAC system but also creating potential safety issues. Regular maintenance and getting your system checked by a professional can prevent these problems from occurring, ensuring that your heating system is safe, functional, and ready to keep your home warm during those colder months.
Maintaining Your Heater: Expert’s Advice for a Safer and Odor-Free Heating
Most individuals associate the initial smell from new heaters or even when a heater is first turned on for the season, as normal. However, an expert would argue that it is imperative to understand the cause behind this distinctive smell to ensure your heater isn’t weeping for help. Starting with simple causes, a dusty heater can emit a mild odor. If dust and other tiny materials have collected on the heater’s surface over months of no use, they burn-off and produce a smell when you turn the heater on. This is, typically, harmless and the smell should clear out after a couple of hours.
If the smell survives longer than expected, certainly something is not right. Some other possible culprits behind the pungent odor can be a broken component producing smoke, a gas leak, or even an electrical problem, all of which require immediate attention! A personal inspection can help maintain your heater’s health. For instance, see if there is any visible smoke or abnormal sounds from the heater to cross out the issue of any broken part. Also, make sure to check your heater’s filter. A clogged or old filter can cause a smoky odor, visually inspect the filter and change it if needed.
Causes of Heating Smell
Solutions
Dusty Surface
Allow it to run for a couple of hours and see if the smell clears
Broken Component
Contact a professional heating technician
Gas Leak
Immediately switch off the heater and reach out to a local gas company
Electrical Problem
Switch off the heater and hire an electrician
Final Thoughts
In conclusion, the initial smell from your heater can be a benign mystery that dissipates quickly, or it could serve as a prelude to a bigger problem that demands immediate attention. Understanding these smells and their causes, as illuminated in this article, could save you from unnecessary panic and could even prevent potential danger. Stay tuned to the smells and sounds of your home appliances, especially negligible ones like your heater, as it provides insightful clues to their state of functionality. Nobody knows your home better than you do. With the understanding you now have, you’re better equipped to take necessary action when the need arises. Remember, while it’s okay to attempt troubleshooting minor issues on your own, expert intervention is always advisable whenever uncertain. After all, the purpose of these insights is not necessarily to turn you into a DIY expert overnight, but to empower you with the knowledge to make informed decisions about your appliance’s health and safety. On that note, here’s to a safe, warm, and risk-free winter! Remember, knowledge is power, but a timely response is key!
Welcome to this in-depth post! Undoubtedly, when it comes to discussing the best air conditioning units, Rheem often becomes a part of the conversation. So, one might wonder; why do a considerable number of individuals regard Rheem units as the best? This post will critically analyse the reasons behind such beliefs and provide helpful insights based on expert opinions and factual information. On a broader spectrum, this educational material aims to give you a comprehensive view to assist you in making informed decisions. We plan to pay attention to potential negatives or issues with Rheem air conditioning units. This way, you can balance the pros and cons effectively before making a purchase. Read on to discover unbiased and detailed information.
Understanding the Market Perception of Rheem Air Conditioning Units
With the increasing need for comfort in today’s climate, it’s little surprise that Rheem Air Conditioning units have gained popularity over time. But, is it really the best, as many seem to believe? While people often cite the units’ mechanical reliability and technological innovation as upsides, it’s important to take a closer look at these points. Firstly, the unit’s mechanical reliability is often amplified by its robust construction but suffers from frequent operational issues.
For instance, customers usually cite repetitive refrigerant leaks, failures in the compressor, and other frequent technical glitches. Furthermore, though Rheem’s technology advancement is touted as its strong point, it often complicates the device’s operation. These advancements, which include proprietary Protech sensors and EcoNet control boards, are challenging to repair and replace due to their unique design.
Parameter
Perceived Positivity
Reality
Mechanical Reliability
High due to robust construction
Often suffers from operational issues
Technological Innovation
Advantage with cutting-edge features
Leads to complications in operation and repair
Moreover, even though the brand’s customer service is often praised, many customers have reported experiences contrary to this claim. Inefficiency, lack of responsiveness, and a generally difficult returns or service process are some common grievances raised. Thus, while the perception of Rheem as the best might be common, it’s essential to equip oneself with these realities before making a purchase decision.
Diving Deeper into the Attributes That Differentiate Rheem Units
The first attribute that sets Rheem air conditioning units apart from the rest is their impressive energy efficiency. These units have energy efficiency ratios (EER) up to 10.0, which means they utilize considerably less energy to keep your space cool. Not only does this translate into substantial financial savings, but it also contributes significantly towards environmental conservation. Rheem has always remained committed to leveraging state-of-the-art technology to create units that require less energy to operate and simultaneously reduce greenhouse gas emissions. The brand’s eco-friendly outlook is, undoubtedly, one reason many people prefer using its units.
Moreover, Rheemair conditioning units exhibit unparalleled durability. Rheem units are made from galvanized steel and some models also feature a patented rust-free condensation drain pan, designed to resist rust and corrosion over the long haul. Another point to consider is the units’ innovative design, Rheem units stand out with their compact and intelligent layout. This feature is essential, particularly in homes with space constraints. In addition to this, the brand offers a variety of units with different cooling capacities. Therefore, regardless of the size of your space, you will most likely find a Rheem unit that meets your specific cooling requirements.
Features
Benefits
Energy Efficiency
Saves money, eco-friendly
Durability
Rust-free, long-lasting
Innovative design
Space-efficient
Variety in capacity
Suits a wide range of space sizes
In conclusion, Rheem air conditioning units are a potential favorite among users due to their high-end energy efficiency, longevity, compact design, and versatility in capacity. Henceforth, it’s not surprising why many people consider Rheem units the best!
Analyzing Stakeholder Views on Rheem’s Innovative Cooling Technology
Despite Rheem being a household name celebrated for its advanced cooling technology, there are aspects that some stakeholders view in a less positive light. One of the main concerns voiced is related to the initial cost of Rheem air conditioning units. While the units boast optimal energy efficiency once they are up and running, the upfront investment can be a barrier for many potential customers.
Rheem’s Innovative Cooling Technology:
Initial Cost: Despite the promise of cost savings in the longer term due to its efficiency, the initial investment required for Rheem units can be off-putting for some customers.
Complex Installation: Rheem units are famous for their advanced technology which can, unfortunately, translate to complex and potentially more costly installation processes.
Anticipated Maintenance: While Rheem units are designed for durability, when maintenance is required, it can be more expensive compared to other less advanced units.
Despite these negative perceptions, it’s worth noting that many customers appreciate the cutting-edge technology that Rheem units offer. However, the need for most stakeholders to see instant cost benefits is often a significant deciding factor.
Feature
Stakeholder View
Investment Cost
High
Installation Complexity
High
Maintenance Cost
High
On the bright side, Rheem continues to innovate and improve their air conditioning technology to balance the need for high-quality, efficient cooling systems with affordability.
Expert Perspectives on the Resilience and Durability of Rheem AC Units
When it comes to air conditioning units, the name that often rises above the competition is Rheem. Having stood the test of time and weather, Rheem units are renowned for their resilience and durability. Ensuring comfort even in severe weather conditions, these units have managed to earn top marks in reviews and discussions.
But what makes Rheem stand out? It helps to look at some critical elements that mark the resilience of Rheem units:
Their design and materials are exceptional and built to last.
Advanced technology, including multi-stage compression, that adapt to changing climatic conditions and maintain optimal performance all year round.
Their energy efficiency that not only cools the space but also minimizes energy consumption, thus saving on your electric bills.
The warranty cover for these units shows their commitment to quality and reliability.
On a closer inspection, and as many experts agree, the secret behind the resilience and durability of Rheem units comes down to quality of manufacturing. They employ cutting edge technology and high-quality materials which set them apart from other AC units in the market.
Features
Rheem AC Units
Design and Material
Highly Durable
Technology
Advanced Multi-stage Compression
Energy Efficiency
High
Warranty
Extended Periods
Apart from the resilience and durability, the operational efficiency of Rheem units is exceptional as well. They offer the most sophisticated and effective air conditioning solutions that challenge their toughest competitors. While Rheem AC units have higher upfront costs, the longer lifespan, lower maintenance needs, and lower energy costs make them a worthwhile investment.
Potential Downsides/Risks of Choosing Rheem Air Conditioners
While there are many beneficial qualities attributed to Rheem air conditioning units, there are also some concerns and potential downsides. One of the most noted criticisms is the reliability of these units. Some users have reported problems with units breaking down in a relatively short span of time after installation. If you decide to go with a Rheem unit, you should be prepared for possible frequent repairs and replacements.
Potential Downside/Risk
Explanation
Reliability
Some units are known to break down in a relatively short span of time after installation
Cost of Repairs and Replacements
If a Rheem unit has issues, the cost of fixing or replacing the unit can be high
Another concern raised is about the cost-efficiency of Rheem air conditioners. Some users have mentioned that these units might consume more power than other brands, leading to a spike in energy bills. The initial cost of installation could also be significantly higher compared to other brands in the market. Therefore, while making an investment in Rheem air conditioners, these factors should be taken into consideration.
Potential Downside/Risk
Explanation
Cost Efficiency
Rheem units might consume more power, leading to higher energy bills
Installation
The initial cost of installing a Rheem unit could be higher than other brands
Moving Forward: Weighing Your AC Options with Informed Decision-Making
Despite the popular belief that Rheem air conditioning units are the best on the market, there are several factors that paint a less-than-favorable picture. Consistent consumer reviews report a higher-than-average need for repairs. While any machine can run into problems, the frequency of issues with Rheem units is concerning. Multiple consumers report problems with the condenser, compressor, and evaporator coils, which are all crucial parts of the air conditioning system.
Moreover, Rheem’s warranty scheme often leaves consumers dissatisfied. While they do offer a 10-year warranty, this only covers parts and not labor. Hence, customers are often left with sizable bills for repair work. This lack of comprehensive coverage is a major downside for many. On top of that, higher energy consumption compared to other brands in the market is another drawback. Here are some commonly observed issues with Rheem AC units:
Condenser Issues: Frequently malfunction, leading to system inefficiency and breakdowns.
Compressor Failures: Rheem units have reportedly high rates of compressor failures, leading to poor cooling.
Coil Problems: Evaporator and condenser coils often leak, causing performance hindrance.
Lack of Comprehensive Warranty: The high cost of labour and frequent repairs is a concern to users.
High Energy Consumption: Rheem AC units consume more energy compared to other efficient brands.
Features
Rheem AC units
Reliability
Poor
Warranty Coverage
Partial
Energy Efficiency
Low
Repair and Maintenance
High
Being an informed consumer is about weighing all the options and making a choice that suits your unique needs. While Rheem AC units might appeal to some, one must consider all aspects before making a decision.
In Summary
In conclusion, while the perception of Rheem air conditioning units being the best may be largely subjective and based on individual experiences, there are various undeniable aspects that could contribute to this belief. It might stem from the company’s reputation for longevity, energy efficiency and innovative designs. However, every consumer should remember that what works best for one person may not necessarily be the best for another. Therefore, when choosing an air conditioning unit, seek out expert advice, consider your individual needs, and make an informed decision. Remember, the ultimate goal is optimal comfort, sustainability, and getting the best value for your money.
Welcome to this comprehensive guide to “Understanding Sewer Clean Out: An Expert’s In-depth Guide”. Whether you’re a homeowner, a potential property buyer, a real estate agent, or simply someone interested in the inner workings of a property’s plumbing system, this post will be incredibly useful. It provides expert, fact-based insights that will clarify the details, importance, and proper maintenance of a sewer clean-out. By gaining a foundational understanding, you will be empowered to potentially save money, avoid major plumbing disasters and prolong the lifespan of your sewer system. Delve into this informative and user-friendly resource that simplifies the complex world of plumbing for your benefit. Let’s get started.
Understanding the Basics of Sewer Clean Out
The concept of a sewer clean out might seem intimidating, but to put it simply, it’s a pipe with a cap that provides access to a home or building’s sewer pipe to enable the clearing of blockages. It’s an essential aspect of any sewer system, acting as a convenient entry point for professional plumbers to clear out obstructions without having to excavate large parts of your property.
There are several important features you should be aware of when it comes to sewer clean outs:
The sewer clean out is typically a 4-inch diameter pipe
To prevent sewage gas leaks, it comes with a screw cap or a threaded plug seal
Its location is typically near the perimeter of the house or building, where the sewer pipe exits the structure
Multiple sewer clean outs may be placed at intervals in more extensive sewer networks
Sewer Clean Out Component
Description
Cap
Segregates the sewer system from the outside environment
Base
Attached to the sewer pipe to allow access
Sewer Pipe
A conduit for transporting sewage from the building to the main sewer line
Understanding the basics of your sewer clean outs can save you from potential disasters, such as sewage line blockages. Being informed about their structure and features allows you to prevent issues that may lead to expensive and extensive repairs.
Decoding the Sewer Clean Out Process: Step by Step Guide
If you’ve ever wondered about the process of sewer clean out but felt clueless on where to start, you’ve come to the right place. sewer clean out, while appearing a complex task best left to professionals, can actually be comprehended and even managed if you have a good understanding of the basic steps and processes involved. Let’s break it down for you, helping you get an in-depth insight into what the process really involves. The first step in the sewer clean out process is Locating the Sewer Cleanout Line. This is the access point where a plumber can clean out the sewer line. It’s typically a round, white pipe with a rubber cap that remains buried most times and is placed somewhere outside of your home. Once located, the second step involves Opening and Checking the Cleanout Line. The professional will open the cap and inspect the line using special tools like a sewer camera. These steps are crucial to Identify any Blockages and Assess their Severity.
Step
Description
1. Locating the Sewer Cleanout Line
The access point where a plumber can clean out the sewer line is identified.
2. Opening and Checking Cleanout Line
The cap of the clean out line is removed and the line is checked with special tools.
Continuing onward, after the severity of blockage has been assessed, the third step involves Inserting the Sewer Auger or Snake. This is essentially a large coil of wire that is maneuvered down the pipe to dislodge the blockage. Finally, the method concludes with Flushing the Line to ensure that the blockage has been adequately removed and the line is clean. In conclusion, sewer clean out is not as intimidating as it appears. Aided by the right knowledge, you can stay aware of how professionals handle the process and ensure that your sewage system functions smoothly.
Importance of Regular Sewer Cleaning for a Healthy Home
The vitality of frequent sewer cleaning is often underestimated, yet it plays a crucial role in maintaining a healthy living environment in your home. Neglecting this task can lead to numerous unpleasant consequences, from foul odors to serious health risks posed by the growth of bacteria and parasites. Regular sewer cleanout will prevent blockages, minimize odor, reduce the risk of home flooding, and significantly enhance the overall sanitation of your home.
It’s essential to understand that the sewer system is not just a one-way street that takes the waste out of your house. It also allows fresh air to enter your plumbing system, ensuring a proper balance of pressure and appropriate flow of waste. Following are keys areas that emphasize the major benefits of regular sewer cleaning:
Safeguarding Health: Unattended sewer can become a breeding ground for harmful bacteria, mold, and pests, posing serious health hazards over time.
Preventing Damage: Accumulated waste can create pressure leading to pipe bursts or leaks, potentially causing substantial damage to your house.
Optimizing Functionality: Regular cleaning helps maintain optimal sewer system function and extends the system’s lifespan by preventing undue wear and tear.
Maintaining Property Value: A well-maintained sewer system can enhance the value of your property by ensuring clean, odor-free conditions that are attractive to potential buyers.
Task
Brief Description
Benefit
Sewer Inspection
Inspect for possible blockages, leaks or damages
Ensures sewer system operation and detects potential issues
Tree root removal
Removal of roots growing into the sewer line
Prevents further damage and maintains sewer functionality
Sewer Jetting
High pressure water jet to clean out waste accumulation
Thorough cleaning to prevent blockages and enhance system operation
By understanding the importance of regular sewer cleaning, you significantly enhance your possibility of maintaining a clean, welcoming, and healthy home environment. It’s a small investment that guarantees an array of long-term benefits for you and your family.
Expert Tips to Avoid Common Sewer Clean Out Mistakes
Knowing how to properly maintain and clean your home’s sewer system can save you from major headaches due to breakdowns and blockages. But, to do it right, you need to avoid common pitfalls associated with sewer clean out tasks. Our expert tips below can help save you from these potential mistakes. Firstly, it’s crucial to know the location of your sewer clean out before you start any maintenance. Homeowners often make the mistake of assuming its place, thus ending up spending time on and potentially damaging the wrong pipe. You can find your sewer clean out usually in the basement or outside your home. Ensure its easy accessibility so future maintenance becomes less of a chore. Secondly, many individuals make the dangerous error of not wearing the proper safety gear when tackling sewer clean outs. Sewer gases can be hazardous if inhaled, and bacteria present can cause infections. Therefore, don’t shirk on protective gear such as gloves, eyewear, and coveralls. Lastly, many neglect the importance of regular maintenance and inspections. Periodic check-up can prevent major disasters from occurring, saving you time, effort, and of course, money in the long run.
Common Mistakes
Expert Tips
Assuming location of sewer clean out
Know and confirm the location before starting
Not wearing safety gear
Always use gloves, eyewear, and coveralls
Irregular maintenance
Perform regular checks and cleanings
Each of these simple but effective tips can make sewer clean out tasks less daunting and more effective. Making educated actions when it comes to your sewer system will pay off in preventing any gruesome surprises down the line.
Efficient Tools and Techniques for Successful Sewer Clean Out
The first tool to consider when performing a successful sewer clean-out is the heavy-duty plumber’s snake, also known as a drain auger. Ideal for breaking up stubborn clogs, this handy device essentially works by snaking a coiled metal wire down the drain to dislodge any blockage. Typically, you will insert the wire into the drain, then turn a handle to break up the blockage. Notably, it’s available in different sizes and lengths, so you should choose one that’s appropriate for your needs.
Size
Best used for
1/4 inch
Small indoor drains like sinks
1/2 inch
Large drain pipes, small main lines
5/8 to 3/4 inch
Main sewer lines
For more extensive issues, however, a hydro jetter can be your best friend. This high-powered tool shoots pressurized water to clear blockages in your sewer line. It’s especially effective against tough obstructions like tree roots or grease build-up. Additionally, professional plumbers often use pipe inspection cameras to give them a clearer view of what’s causing the issue. By snaking a flexible cable fitted with a small camera into the pipe, they can get a 360-degree view and identify the exact location and type of clog. While DIY sewer clean out is possible with the right tools and precautions, it can be an arduous task. Therefore, it’s crucial to know about the protective measures to keep safe from sewer gases and possible contamination. Remember to wear heavy-duty gloves, goggles, and possibly a coverall. In case of a severe problem, it might be best to let the professionals handle it. Do note that regular maintenance is key to preventing severe blockages. You may need to schedule regular sewer clean-outs depending on the condition of your sewer line and the accumulation of waste. Using enzymatic drain cleaners bi-monthly or monthly can also help break down waste and keep your sewer line clear.
Tips to Choose the Right Professionals for Sewer Clean Out
When it comes to addressing your sewer clean out needs, partnering with the right professionals can make all the difference. With numerous options available, making the right choice can seem overwhelming. However, these essential tips should guide through the selection process. Experience and expertise are vital in this often complicated and messy process. An experienced professional can provide top-quality service and prevent potential pitfalls. Their mastery of the task shows in their work and results. A sound understanding of the job reduces the possibilities of reoccurrences, saving you time, and costs long term. Make sure you scrutinize the credibility and reliability of the service provider. It would be ideal if you had a team who would turn up promptly when enlisted and do a satisfactory job. Check for testimonials or reviews from earlier clients, which should offer insights into the company’s reliability. Also, consider their licensing and insurance credentials. Proper licensing signifies proficiency and adherence to industry standards, and insurance safeguards you from potential liabilities during the work. Lastly, bear in mind the cost of the service. While pricing should never be the sole determining factor, compare quotes from various providers to ensure that you’re not being overcharged.
They help ensure the job is done correctly the first time, potentially saving time and money in the future.
Credibility and reliability
These indicate the providers’ capacity to deliver an excellent, timely service and stand by their work.
Licensing and insurance
These are legal assurances that service providers are pros, aware of local regulations and can compensate for any work-related damages.
Cost
Important to ensure you’re getting a good deal, but should not be the only determining factor.
To Wrap It Up
In conclusion, a clear knowledge of your sewer cleanout system can save you much stress, time, and money. Understanding how to locate and use the sewer cleanout, coupled with proactive maintenance, can help prevent the pains of a plumbing catastrophe. This comprehensive guide has been tailored towards enlightening you from an expert’s viewpoint, enabling you to manage your home’s plumbing needs effectively. So, keep your cleanout line in check, arm yourself with this insightful information, and smile knowing you are well-equipped to handle any surprise your sewer system might decide to throw your way. Remember, being informed is always the first step to effective problem-solving. Thank you for investing your time to gain this knowledge, your plumbing system will surely thank you.
Hi my name is Angel Muro I established Comfort Time Heating & Cooling driven by my deep passion for HVAC and a sincere commitment to improving our customers' comfort. My initial fascination with plumbing, heating, and air conditioning systems has evolved into a dedicated profession, emphasizing the significance of both technical expertise and a warm, customer-centric approach. This blog aims to provide valuable insights and information. While some pages provide details about our services, my primary goal is to share real-life experiences that can assist you in various HVAC matters.
Have A Plumbing, Heating Or Air Conditioning Project & You Can Us Our Help?
Comfort Time Plumbing Heating & Cooling Servicing Southern California
At Comfort Time Plumbing Heating and Cooling, we are your trusted HVAC & Plumbing experts serving Southern California. With years of experience in the industry, we take pride in delivering top-notch heating and cooling solutions tailored to the unique climate and needs of the region. Whether you're in the coastal areas, inland valleys, or urban centers, our team of dedicated professionals is here to ensure your year-round comfort. We stay up-to-date with the latest technologies to offer energy-efficient solutions, and our commitment to customer satisfaction means you can rely on us for prompt and reliable service. When it comes to your HVAC needs in Southern California, Comfort Time is the name you can trust.